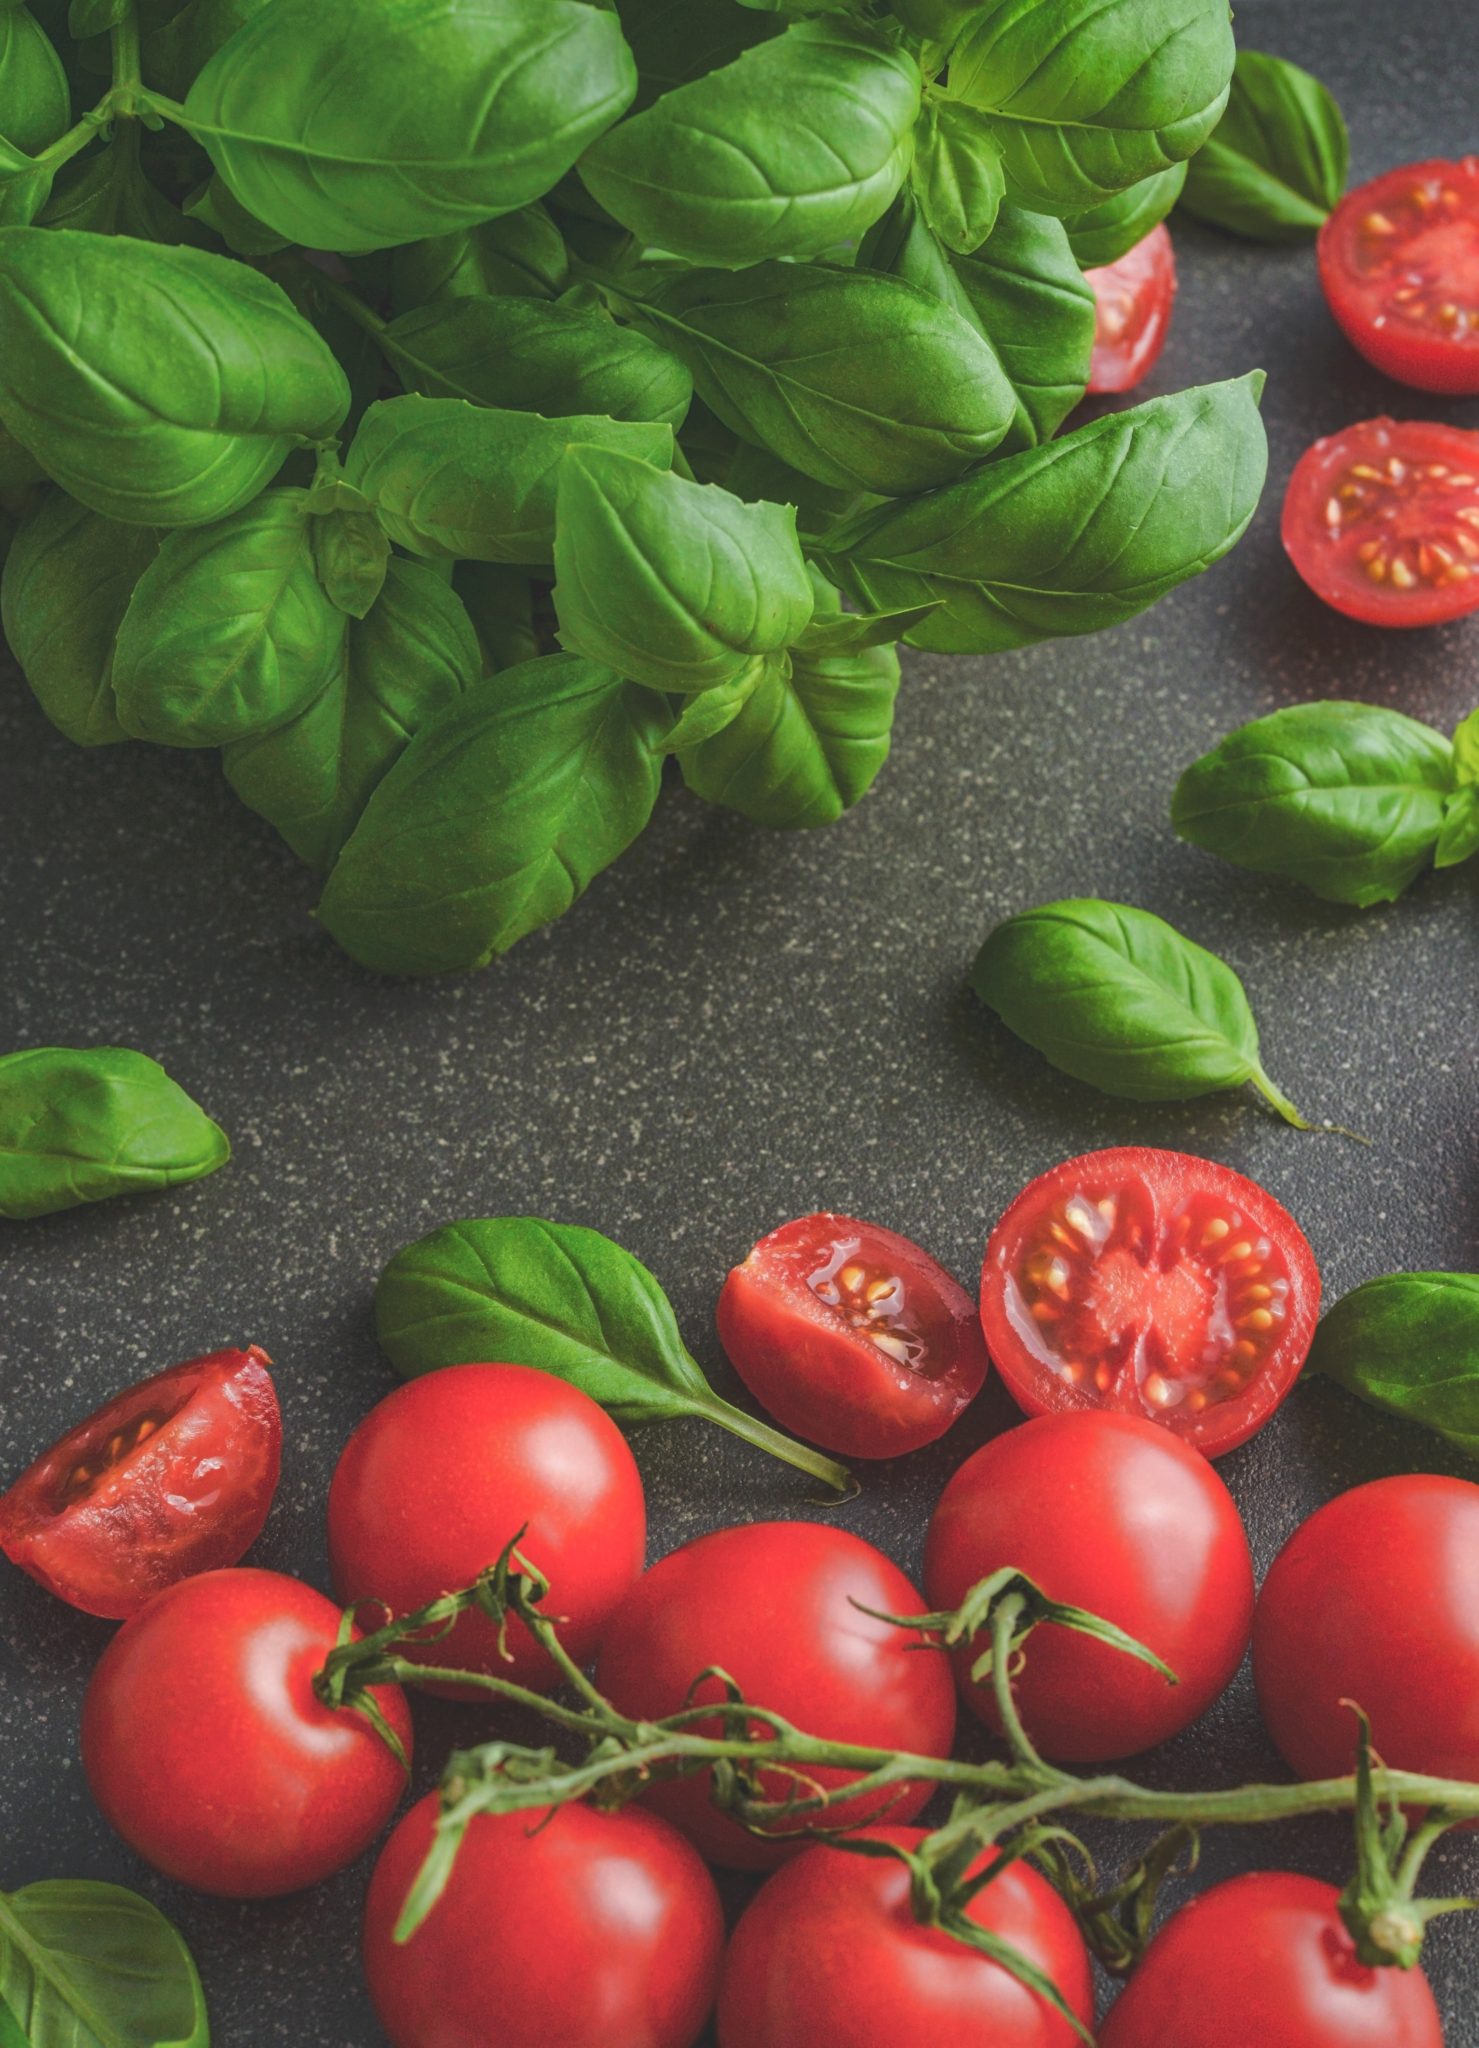
Interested in learning about Food Photography? Found out more tips by dropping by any book stores and head for the cook book section and you’ll be overwhelmed by the array of books filled with scrumptious recipes accompanied by wonderful photography of the meals being written about on restaurants, home made recipe, menus and cafe foods. Here, I have gather 7 tips in achieve better food photography. Mainly; lighting, props, styling, being fast, getting down low and having macro shots.
But how do you achieve such results through food photography?
1. Good Lighting in photography
Light plays an important role in getting your subject lit in photography. Many photos examples of food photography that I’ve come across for this article can achieve better results with adequate lightings. One of the best places to photograph food is by placing it near a window where there is plenty of natural light resources – If the window light source is not bright enough, you could consider having a flash bounced off a ceiling or wall to give a more even lighting that reduces the shadows. With big natural light sources, it helps to make the food look more natural and mouth watering.
2. Props
Although food is the hero in most images, we are not to neglect the arrangement of the surroundings, including the plates, bowls, cutlery and table settings around it. Many people tend to clutter the photo with lots of props, however simple is beauty. Consider adding one or two extra items such as glass, fork, flowers or napkin. These items can often play a secondary positions in having a foreground and background of the shot.
3. Be Quick
Food doesn’t keep it’s appetizing looks for long so as a photographer you’ll need to be well prepared and able to shoot quickly after it’s been cooked before it melts, collapses, wilts and/or changes color. This means being prepared and knowing what you want to achieve before the food arrives. One strategy that some use is to have the shot completely set up with props before the food is ready and then to substitute a stand-in plate to get your exposure right. Then when the food is ready you just switch the stand-in plate with the real thing and you’re ready to start shooting.
Food doesn’t keep it appealing looks for standing too long, so as a photographer you will need to be prepared and able to shoot as quickly as possible while the food is still freshly prepared before it melts, collapses, wilts and or deteriorate. Which means photographer must always be prepared on what are the shots to be achieved before the food arrives. Alternative, they can have the shot being set up with all the arrangement with props before the food is being served on the table for the shoot and getting your exposure right. Then when the food is cooked, all you need is to just switch the stand-in plate with the real food and voila!
4. Style it
The way food is set out on the plate is as important as the way you photograph it. Pay attention to the balance of food in a shot (color, shapes etc) and leave a way into the shot (using leading lines and the rule of thirds to help guide your viewer’s eye into the dish). One of the best ways to learn is to get some cook books to see how the pros do it.
How the food are being styled on the plate plays very important role as the way it is being photograph. Strike a balance of food in a shot in terms of colour, shapes etc. Try to apply the photography guidelines such as using leading lines or rule of thirds to help your viewer’s eye in focusing on the hero. Do not use plates that are too big or small for the food, as it will create too little or too much space between it. One of the best way to learn is to browse through photos of cook books or online resources such as pinterest for ideas!
5. Enhance it
One trick that photographer usually do is to enhance how the food looks on the photo by having some vegetable oil or water on hand to brush it over the food, by creating glistening and watering effects.
6. Get Down Low
One mistake that many amateur food photographers make is by taking a shot from above looking down on the plate directly. Although it can work in some situation – however consider other perspective in getting a better shot for certain food by shooting down close to the plate level or 45 degrees above it.
7. Macro
Shooting macro allows you the achieve photos by focusing on just part of the dish, it can be an effective way of getting your viewers eyes on the different elements the food has.
If you require a consultation for food photography needs, feel free to contact us and drop us an email.
